Spring Boot 整合 Redis
参考教程
作为开发者,相信大家都知道 Redis 的重要性。Redis 是使用 C 语言开发的一个高性能键值对数据库,是互联网技术领域使用最为广泛的存储中间件,它是「Remote Dictionary Service」的首字母缩写,也就是「远程字典服务」。
**Redis 以超高的性能、完美的文档、简洁的源码著称,国内外很多大型互联网公司都在用,**比如说阿里、腾讯、GitHub、Stack Overflow 等等。当然了,中小型公司也都在用。
安装 Redis
windows 安装
Windows 用户可以通过我之前提到的 chocolatey 命令行软件管理神器安装(可以戳链接了解详情),只需要一行命令 choco install redis 就可以完成安装了,非常方便。
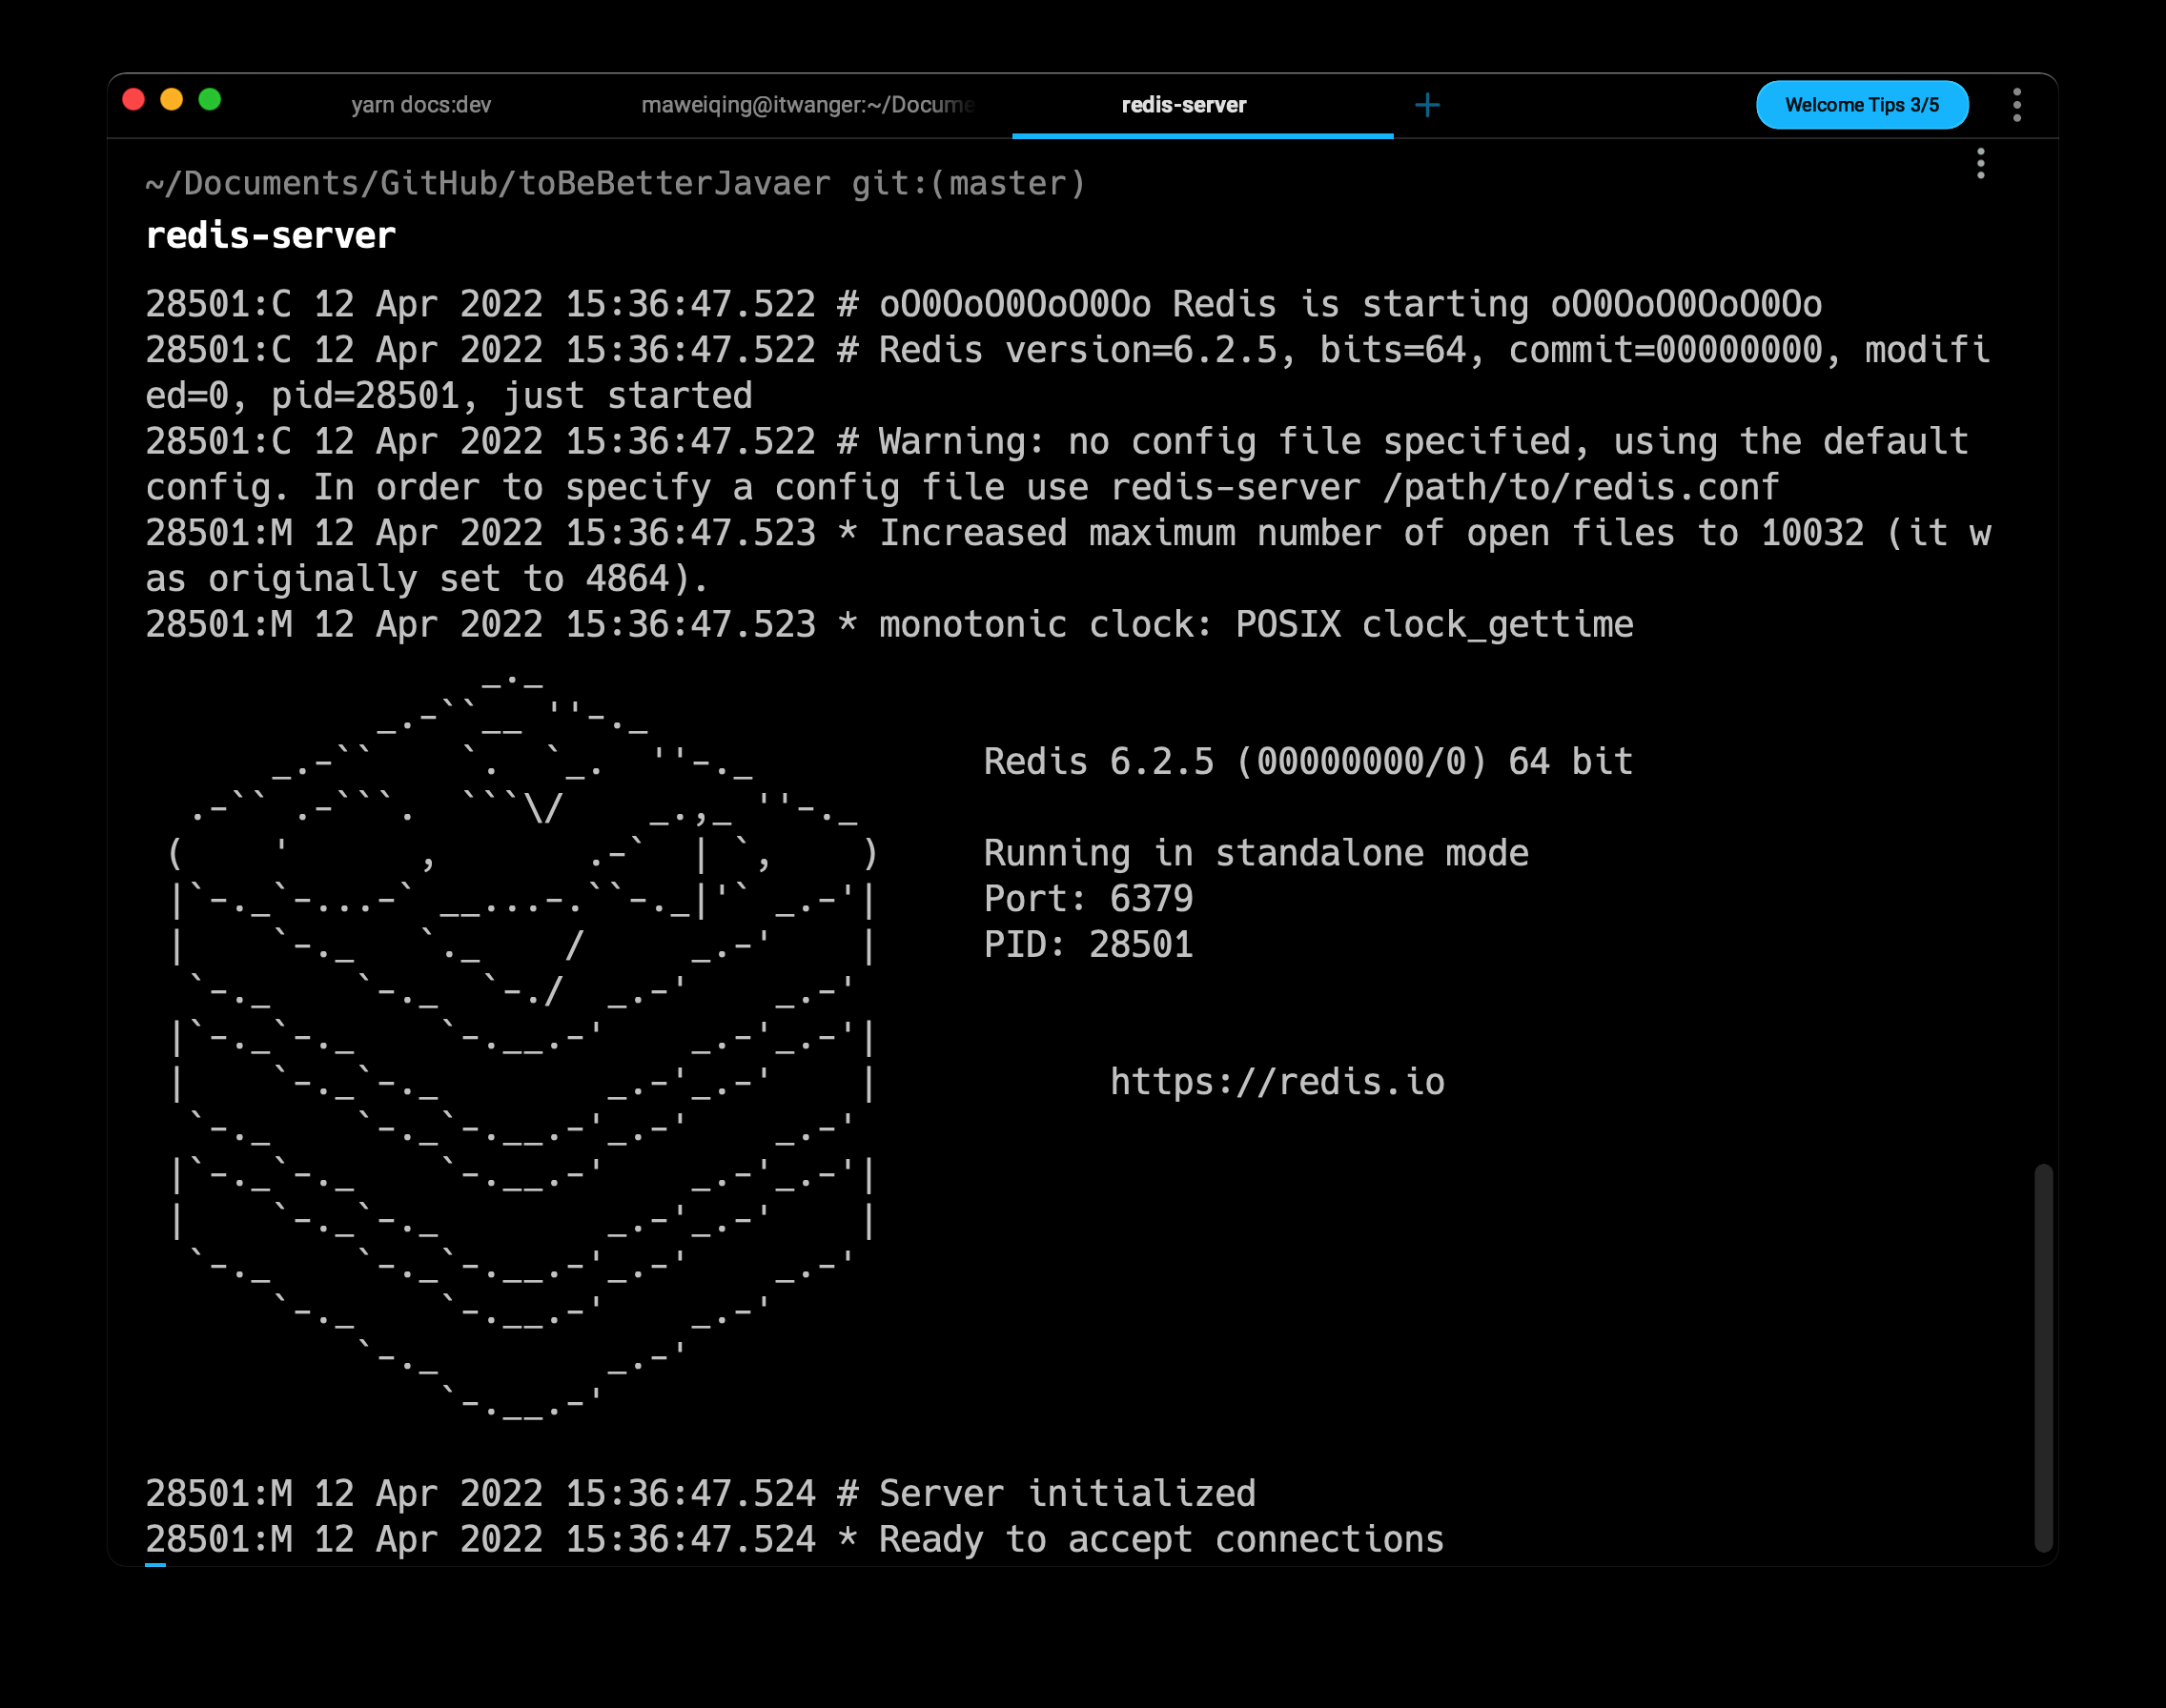
完成安装后执行 redis-server 就可以启动 Redis 服务了。
Linux 安装
生产环境中,我们通常会在 Linux 上安装 Redis。我的服务器上安装了宝塔面板,可以直接在软件商店里搜「Redis」关键字,然后直接安装(我已经安装过了)。

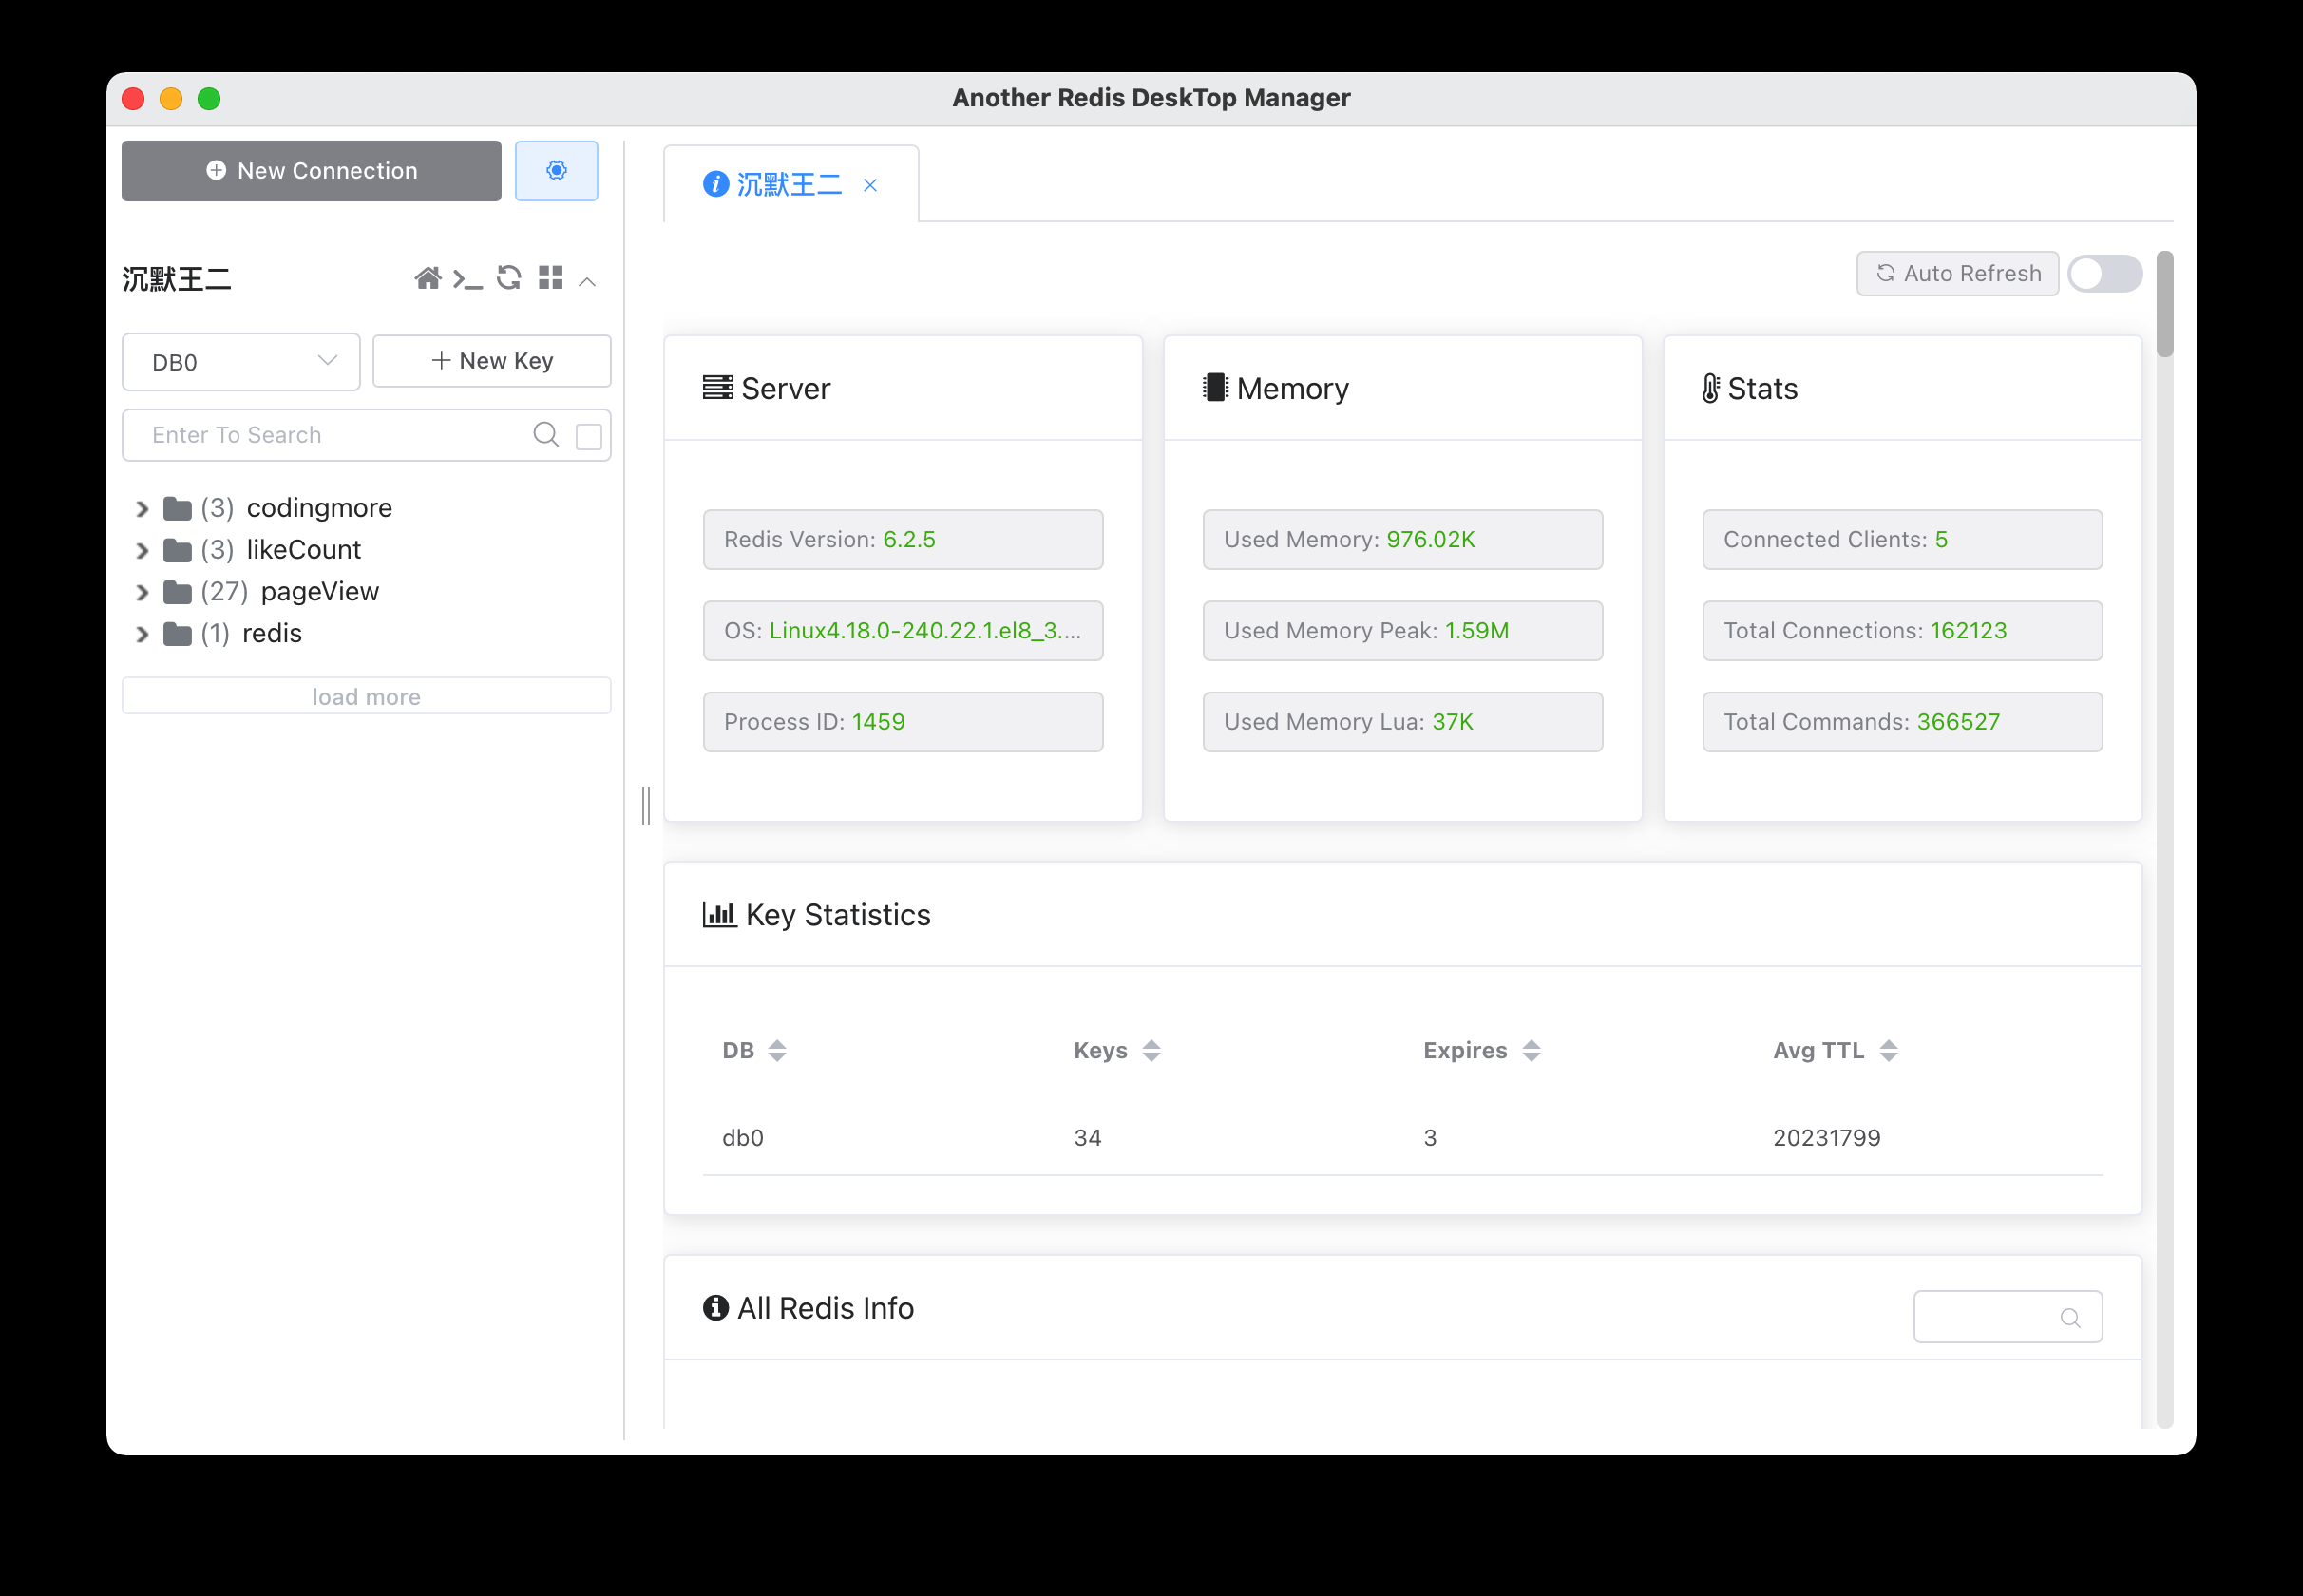
顺带安装一下 Redis 客户端工具,推荐 GitHub 星标 20k+ 的 AnotherRedisDesktopManager,一款 🚀🚀🚀 更快、更好、更稳定的Redis桌面(GUI)管理客户端,支持 Windows、macOS 和 Linux,性能出众,可以轻松加载海量键值。
https://github.com/qishibo/AnotherRedisDesktopManager
Redis 数据类型
Redis支持五种数据类型:string(字符串),hash(哈希),list(列表),set(集合)及zset(sorted set:有序集合)。
Redis 教程:https://www.redis.net.cn/tutorial/3508.html
SpringBoot 整合 Redis
1. 添加依赖
<dependency>
    <groupId>org.springframework.boot</groupId>
    <artifactId>spring-boot-starter-data-redis</artifactId>
</dependency>2. 添加配置信息
spring:
  redis:
    host: xxx.xxx.99.232 # Redis服务器地址
    database: 0 # Redis数据库索引(默认为0)
    port: 6379 # Redis服务器连接端口
password: xxx # Redis服务器连接密码(默认为空)3. 测试代码
@SpringBootTest
class CodingmoreRedisApplicationTests {
    @Resource
    private RedisTemplate redisTemplate;

    @Resource
    private StringRedisTemplate stringRedisTemplate;

    @Test
    public void testRedis() {
        // 添加
        redisTemplate.opsForValue().set("name","沉默王二");
        // 查询
        System.out.println(redisTemplate.opsForValue().get("name"));
        // 删除
        redisTemplate.delete("name");
        // 更新
        redisTemplate.opsForValue().set("name","沉默王二的狗腿子");
        // 查询
        System.out.println(redisTemplate.opsForValue().get("name"));

        // 添加
        stringRedisTemplate.opsForValue().set("name","沉默王二");
        // 查询
        System.out.println(stringRedisTemplate.opsForValue().get("name"));
        // 删除
        stringRedisTemplate.delete("name");
        // 更新
        stringRedisTemplate.opsForValue().set("name","沉默王二的狗腿子");
        // 查询
        System.out.println(stringRedisTemplate.opsForValue().get("name"));

    }

}编程喵整合 Redis
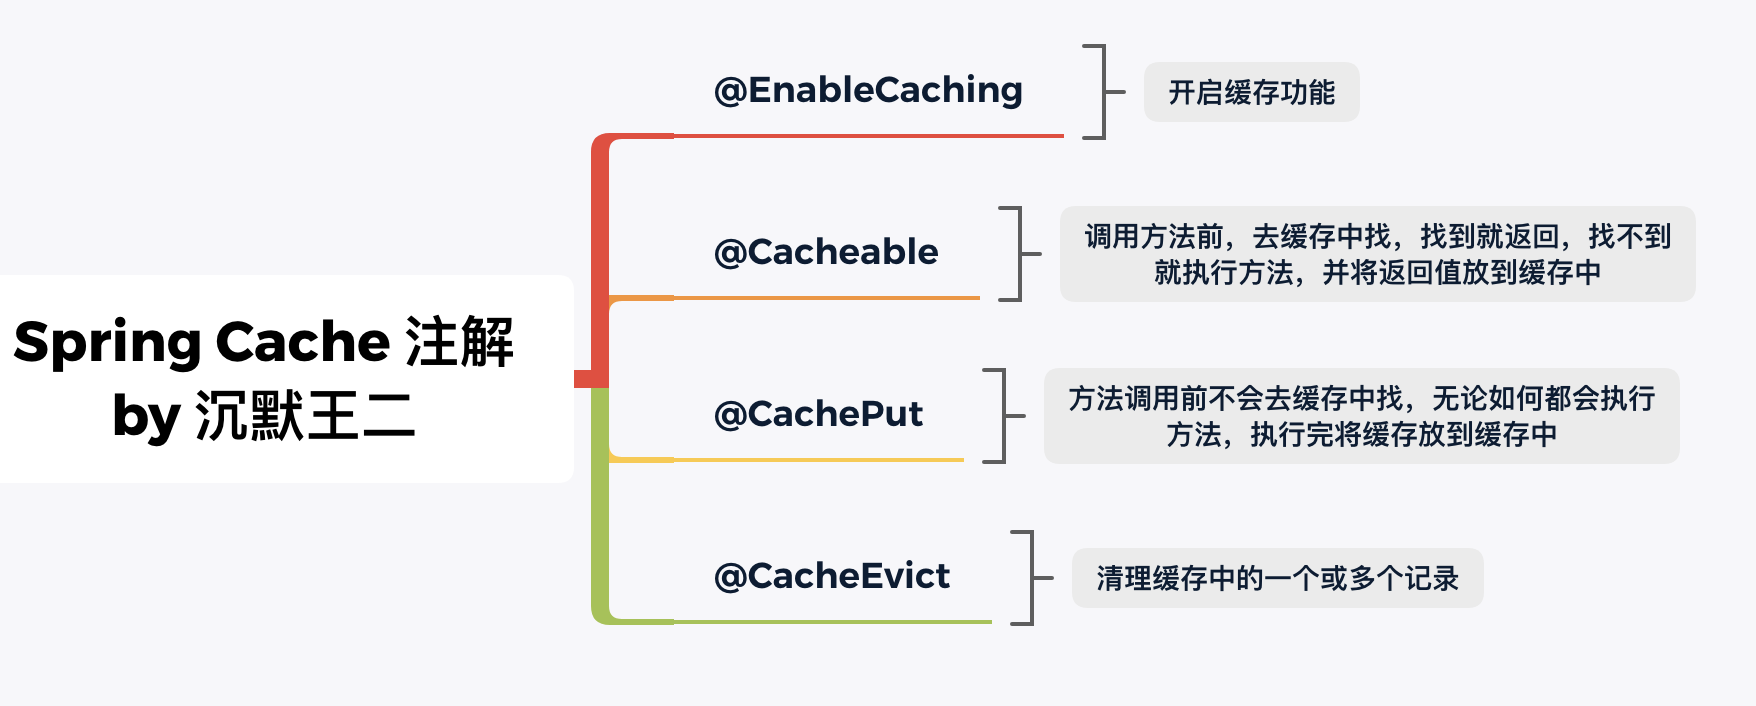
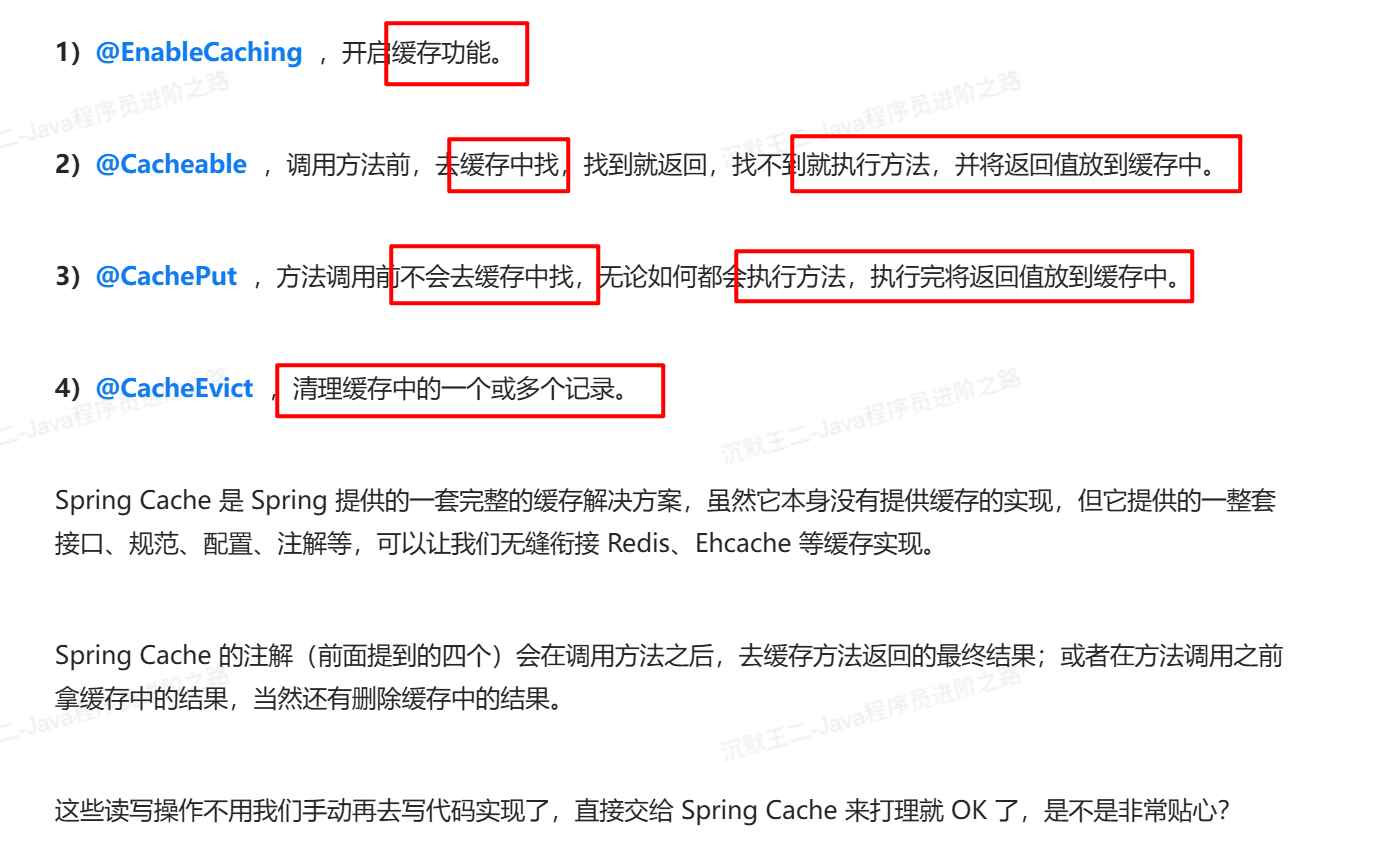
编程喵是一个 Spring Boot + Vue 的前后端分离项目,要整合 Redis 的话,最好的方式是使用 Spring Cache,仅仅通过 @Cacheable、@CachePut、@CacheEvict、@EnableCaching 等注解就可以轻松使用 Redis 做缓存了。
1. 引入依赖
<dependency>
    <groupId>org.springframework.boot</groupId>
    <artifactId>spring-boot-starter-data-redis</artifactId>
</dependency>2. 配置信息
spring:
    redis:
        host: 118.xx.xx.xxx # Redis服务器地址
        database: 0 # Redis数据库索引(默认为0)
        port: 6379 # Redis服务器连接端口
        password: xx # Redis服务器连接密码(默认为空)
timeout: 1000ms # 连接超时时间(毫秒)3. 增加配置类
通过 RedisTemplate 设置 JSON 格式的序列化器,这样的话存储到 Redis 里的数据将是有类型的 JSON 数据,例如:
@EnableCaching
@Configuration
public class RedisConfig extends CachingConfigurerSupport {

    @Bean
    public RedisTemplate<String, Object> redisTemplate(RedisConnectionFactory redisConnectionFactory) {
        RedisTemplate<String, Object> redisTemplate = new RedisTemplate<>();
        redisTemplate.setConnectionFactory(redisConnectionFactory);

        // 通过 Jackson 组件进行序列化
        RedisSerializer<Object> serializer = redisSerializer();

        // key 和 value
        // 一般来说, redis-key采用字符串序列化;
        // redis-value采用json序列化, json的体积小,可读性高,不需要实现serializer接口。
        redisTemplate.setKeySerializer(new StringRedisSerializer());
        redisTemplate.setValueSerializer(serializer);

        redisTemplate.setHashKeySerializer(new StringRedisSerializer());
        redisTemplate.setHashValueSerializer(serializer);

        redisTemplate.afterPropertiesSet();
        return redisTemplate;
    }

    @Bean
    public RedisSerializer<Object> redisSerializer() {
        //创建JSON序列化器
        Jackson2JsonRedisSerializer<Object> serializer = new Jackson2JsonRedisSerializer<>(Object.class);
        ObjectMapper objectMapper = new ObjectMapper();
        objectMapper.setVisibility(PropertyAccessor.ALL, JsonAutoDetect.Visibility.ANY);
        // https://www.cnblogs.com/shanheyongmu/p/15157378.html
        // objectMapper.enableDefaultTyping()被弃用
        objectMapper.activateDefaultTyping(
                LaissezFaireSubTypeValidator.instance,
                ObjectMapper.DefaultTyping.NON_FINAL,
                JsonTypeInfo.As.WRAPPER_ARRAY);
        serializer.setObjectMapper(objectMapper);
        return serializer;
    }

}通过 RedisCacheConfiguration 设置超时时间,来避免产生很多不必要的缓存数据。
@Bean
public RedisCacheManager redisCacheManager(RedisConnectionFactory redisConnectionFactory) {
    RedisCacheWriter redisCacheWriter = RedisCacheWriter.nonLockingRedisCacheWriter(redisConnectionFactory);
    //设置Redis缓存有效期为1天
    RedisCacheConfiguration redisCacheConfiguration = RedisCacheConfiguration.defaultCacheConfig()
            .serializeValuesWith(RedisSerializationContext.SerializationPair.fromSerializer(redisSerializer())).entryTtl(Duration.ofDays(1));
    return new RedisCacheManager(redisCacheWriter, redisCacheConfiguration);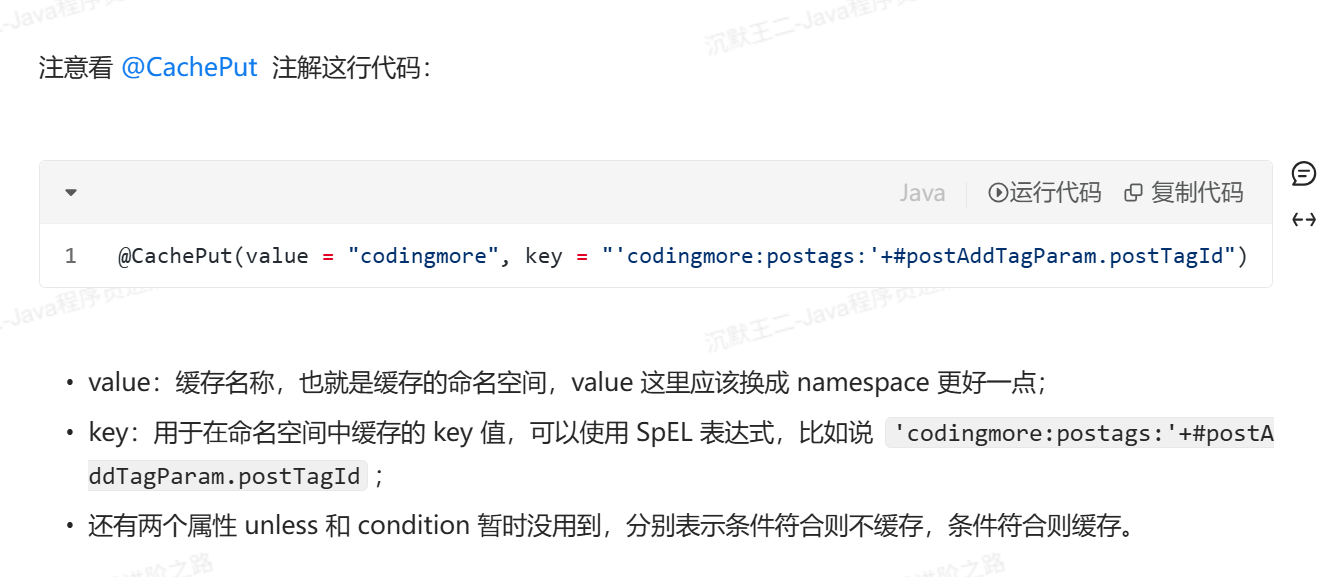
}4. 标签更新接口中添加 @CachePut 注解
在标签更新接口中添加 @CachePut 注解,也就是**说方法执行前不会去缓存中找,**但方法执行完会将返回值放入缓存中。
@Controller
@Api(tags = "标签")
@RequestMapping("/postTag")
public class PostTagController {

    @Autowired
    private IPostTagService postTagService;
    @Autowired
    private IPostTagRelationService postTagRelationService;

    @RequestMapping(value = "/update", method = RequestMethod.POST)
    @ResponseBody
    @ApiOperation("修改标签")
    @CachePut(value = "codingmore", key = "'codingmore:postags:'+#postAddTagParam.postTagId")
    public ResultObject<String> update(@Valid PostTagParam postAddTagParam) {
        if (postAddTagParam.getPostTagId() == null) {
            return ResultObject.failed("标签id不能为空");
        }
        PostTag postTag = postTagService.getById(postAddTagParam.getPostTagId());
        if (postTag == null) {
            return ResultObject.failed("标签不存在");
        }
        QueryWrapper<PostTag> queryWrapper = new QueryWrapper<>();
        queryWrapper.eq("description", postAddTagParam.getDescription());
        int count = postTagService.count(queryWrapper);
        if (count > 0) {
            return ResultObject.failed("标签名称已存在");
        }
        BeanUtils.copyProperties(postAddTagParam, postTag);
        return ResultObject.success(postTagService.updateById(postTag) ? "修改成功" : "修改失败");
    }
}
5. 测试
使用 Redis 连接池
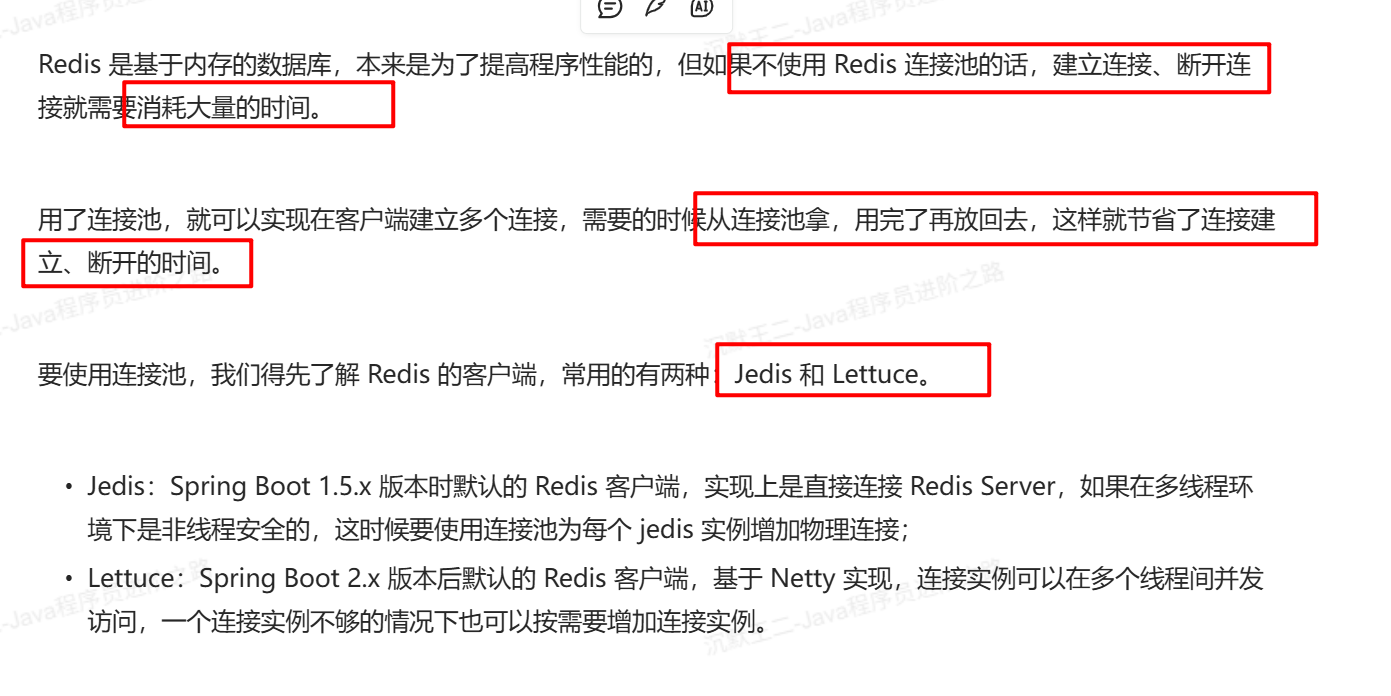
Jedis
a. 添加依赖
<dependency>
    <groupId>org.springframework.boot</groupId>
    <artifactId>spring-boot-starter-data-redis</artifactId>
    <exclusions>
        <exclusion>
            <groupId>io.lettuce</groupId>
            <artifactId>lettuce-core</artifactId>
        </exclusion>
    </exclusions>
</dependency>

<dependency>
    <groupId>redis.clients</groupId>
    <artifactId>jedis</artifactId>
</dependency>b. 添加 Jedis 连接池配置
spring:
    redis:
        jedis:
          pool:
            max-active: 8 # 连接池最大连接数
            max-idle: 8 # 连接池最大空闲连接数
            min-idle: 0 # 连接池最小空闲连接数
max-wait: -1ms # 连接池最大阻塞等待时间,负值表示没有限制启动服务后,观察 redisTemplate 的 clientConfiguration 节点,可以看到它的值已经变成 DefaultJedisClientConfiguration 对象了。
当然了,也可以不配置 Jedis 客户端的连接池,走默认的连接池配置。因为 Jedis 客户端默认增加了连接池的依赖包,在 pom.xml 文件中点开 Jedis 客户端依赖可以查看到。
Lettuce
a. 添加依赖
<dependency>
  <groupId>org.apache.commons</groupId>
  <artifactId>commons-pool2</artifactId>
  <version>2.6.2</version>
  <type>jar</type>
  <scope>compile</scope>
</dependency>b. 添加配置
spring:
    redis:
        lettuce:
          pool:
            max-active: 8 # 连接池最大连接数
            max-idle: 8 # 连接池最大空闲连接数
            min-idle: 0 # 连接池最小空闲连接数
max-wait: -1ms # 连接池最大阻塞等待时间,负值表示没有限制自由操作 Redis
Spring Cache 虽然提供了操作 Redis 的**便捷方法,**比如我们前面演示的 @CachePut 注解,但注解提供的操作非常有限,比如说它只能保存返回值到缓存中,而返回值并不一定是我们想要保存的结果。
与其保存这个返回给客户端的 JSON 信息,我们更想保存的是更新后的标签。那该怎么自由地操作 Redis 呢?
1. 增加 RedisService 接口
public interface RedisService {

    /**
     * 保存属性
     */
    void set(String key, Object value);

    /**
     * 获取属性
     */
    Object get(String key);

    /**
     * 删除属性
     */
    Boolean del(String key);

    ...

    // 更多方法见:https://github.com/itwanger/coding-more/blob/main/codingmore-mbg/src/main/java/com/codingmore/service/RedisService.java

}2. 增加实现类
@Service
public class RedisServiceImpl implements RedisService {
    @Autowired
    private RedisTemplate<String, Object> redisTemplate;

    @Override
    public void set(String key, Object value) {
        redisTemplate.opsForValue().set(key, value);
    }

    @Override
    public Object get(String key) {
        return redisTemplate.opsForValue().get(key);
    }

    @Override
    public Boolean del(String key) {
        return redisTemplate.delete(key);
    }

    // 更多代码参考:https://github.com/itwanger/coding-more/blob/main/codingmore-mbg/src/main/java/com/codingmore/service/impl/RedisServiceImpl.java
}3. 在标签 PostTagController 中增加 Redis 测试用接口 simpleTest :
@Controller
@Api(tags = "标签")
@RequestMapping("/postTag")
public class PostTagController {
@Autowired
private IPostTagService postTagService;
@Autowired
private IPostTagRelationService postTagRelationService;
@Autowired
private RedisService redisService;
@RequestMapping(value = "/simpleTest", method = RequestMethod.POST)
@ResponseBody
@ApiOperation("修改标签/Redis 测试用")
public ResultObject<PostTag> simpleTest(@Valid PostTagParam postAddTagParam) {
if (postAddTagParam.getPostTagId() == null) {
return ResultObject.failed("标签id不能为空");
}
PostTag postTag = postTagService.getById(postAddTagParam.getPostTagId());
if (postTag == null) {
return ResultObject.failed("标签不存在");
}
QueryWrapper<PostTag> queryWrapper = new QueryWrapper<>();
queryWrapper.eq("description", postAddTagParam.getDescription());
int count = postTagService.count(queryWrapper);
if (count > 0) {
return ResultObject.failed("标签名称已存在");
}
BeanUtils.copyProperties(postAddTagParam, postTag);
boolean successFlag = postTagService.updateById(postTag);
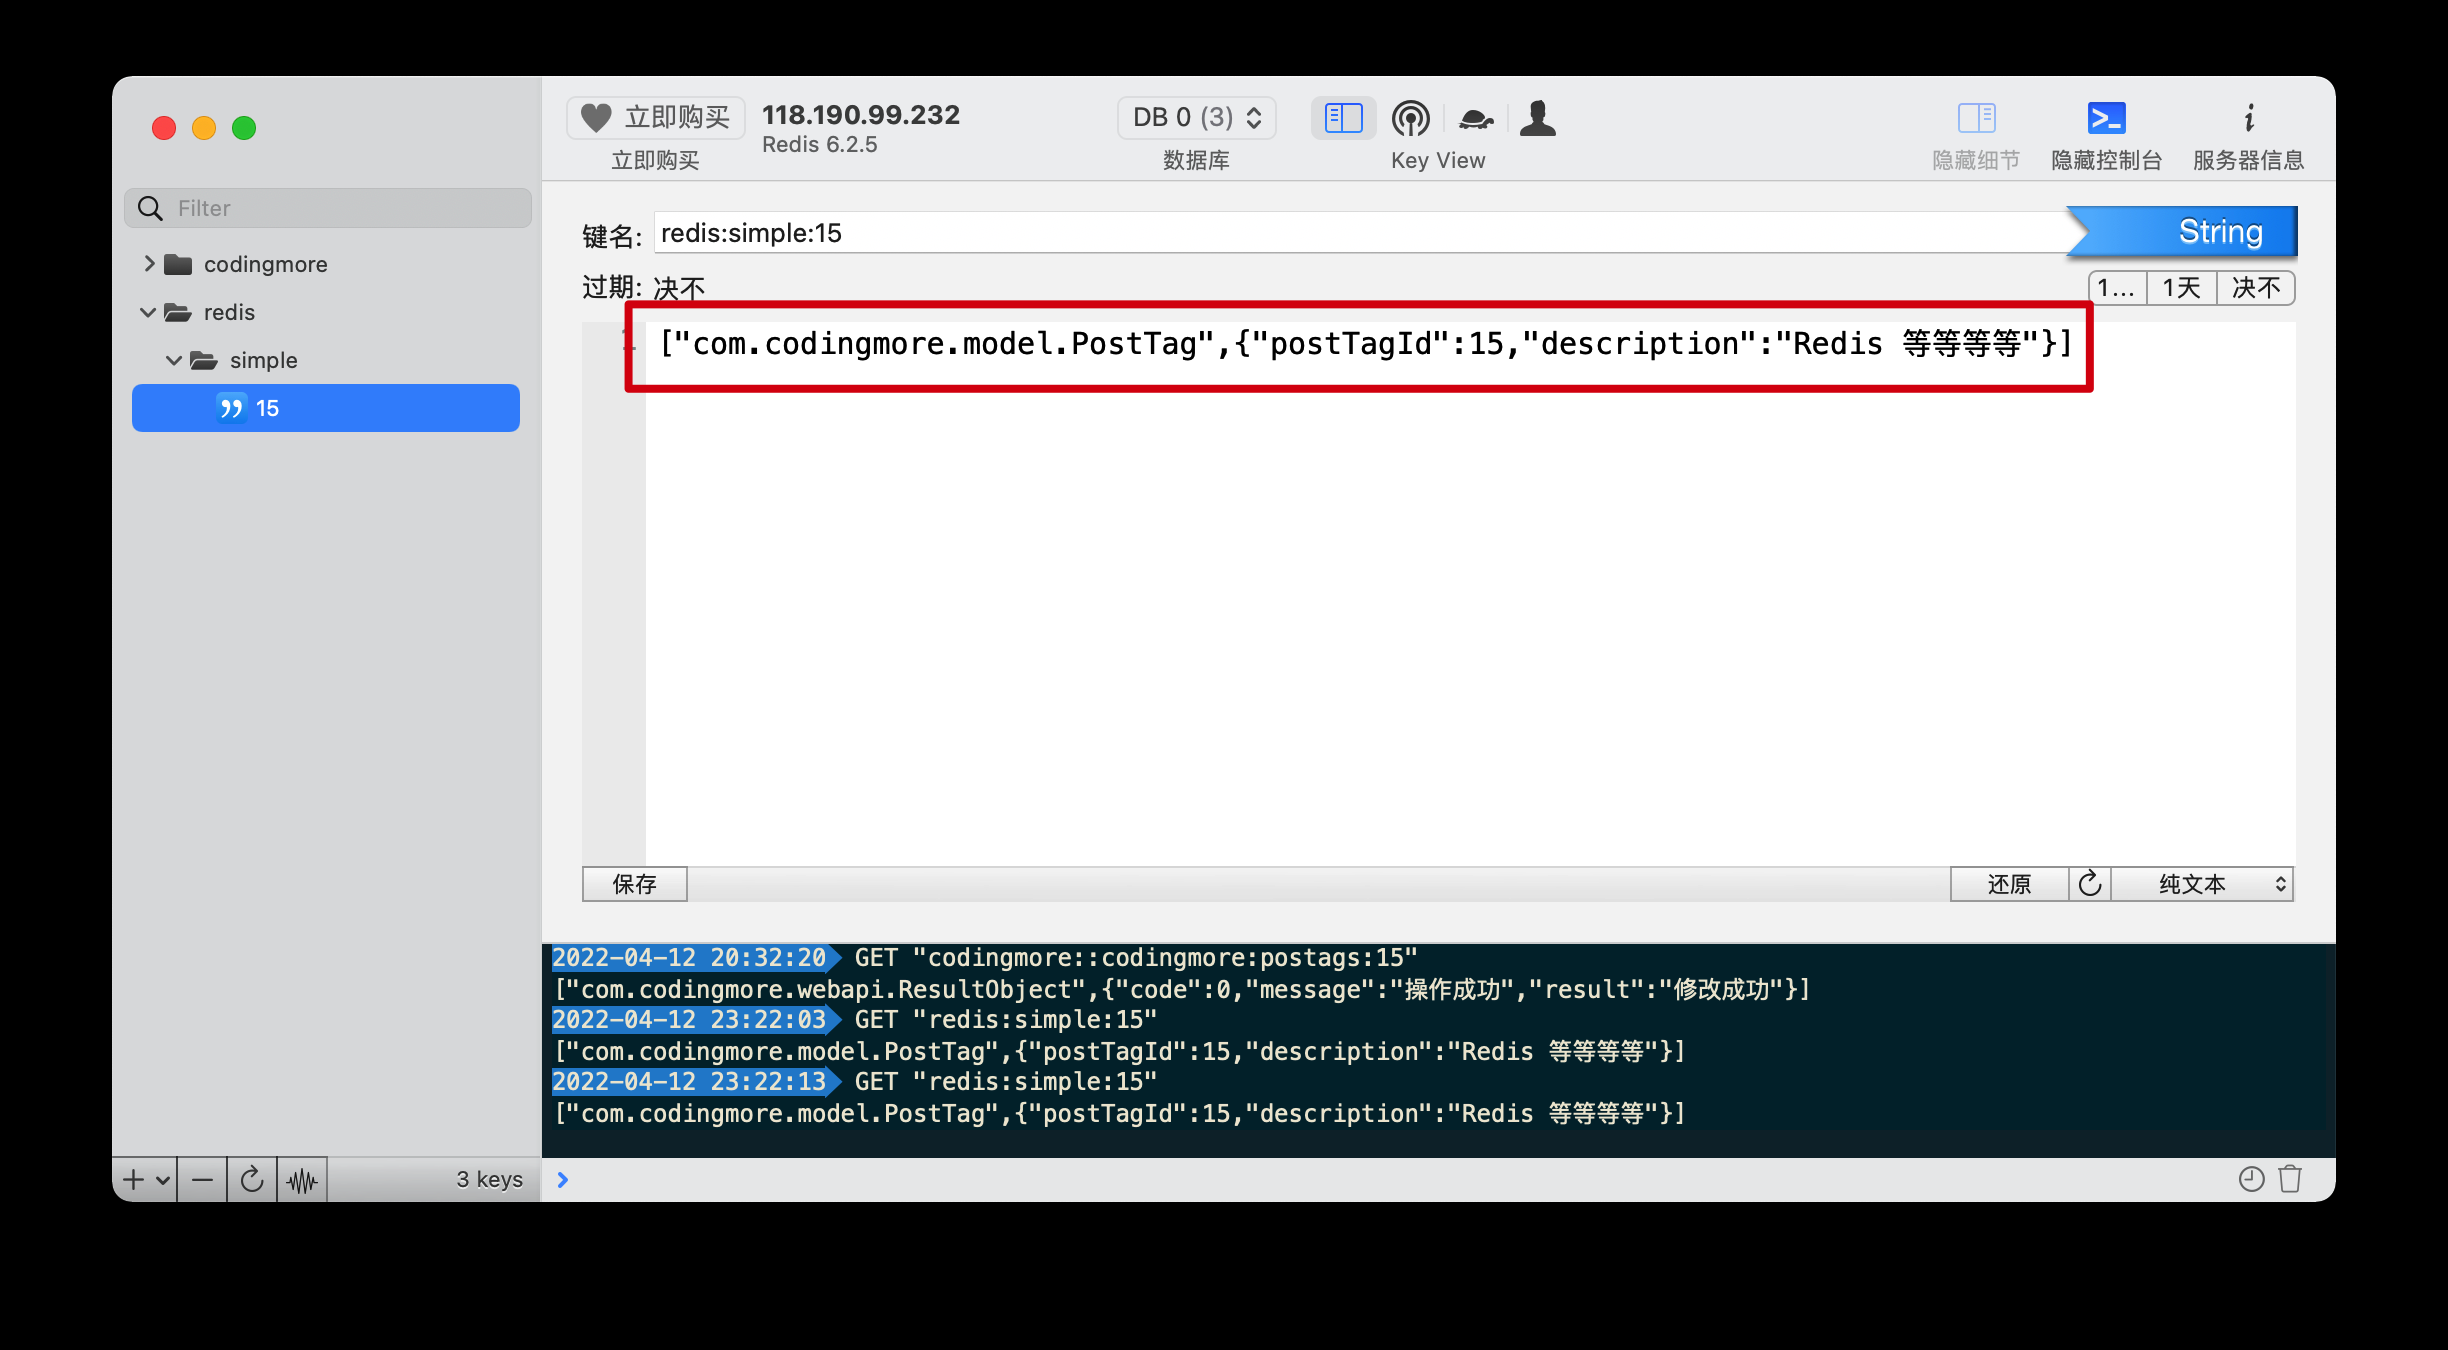
String key = "redis:simple:" + postTag.getPostTagId();
redisService.set(key, postTag);
PostTag cachePostTag = (PostTag) redisService.get(key);
return ResultObject.success(cachePostTag);
}
}4. 重启服务,使用 Knife4j 测试该接口
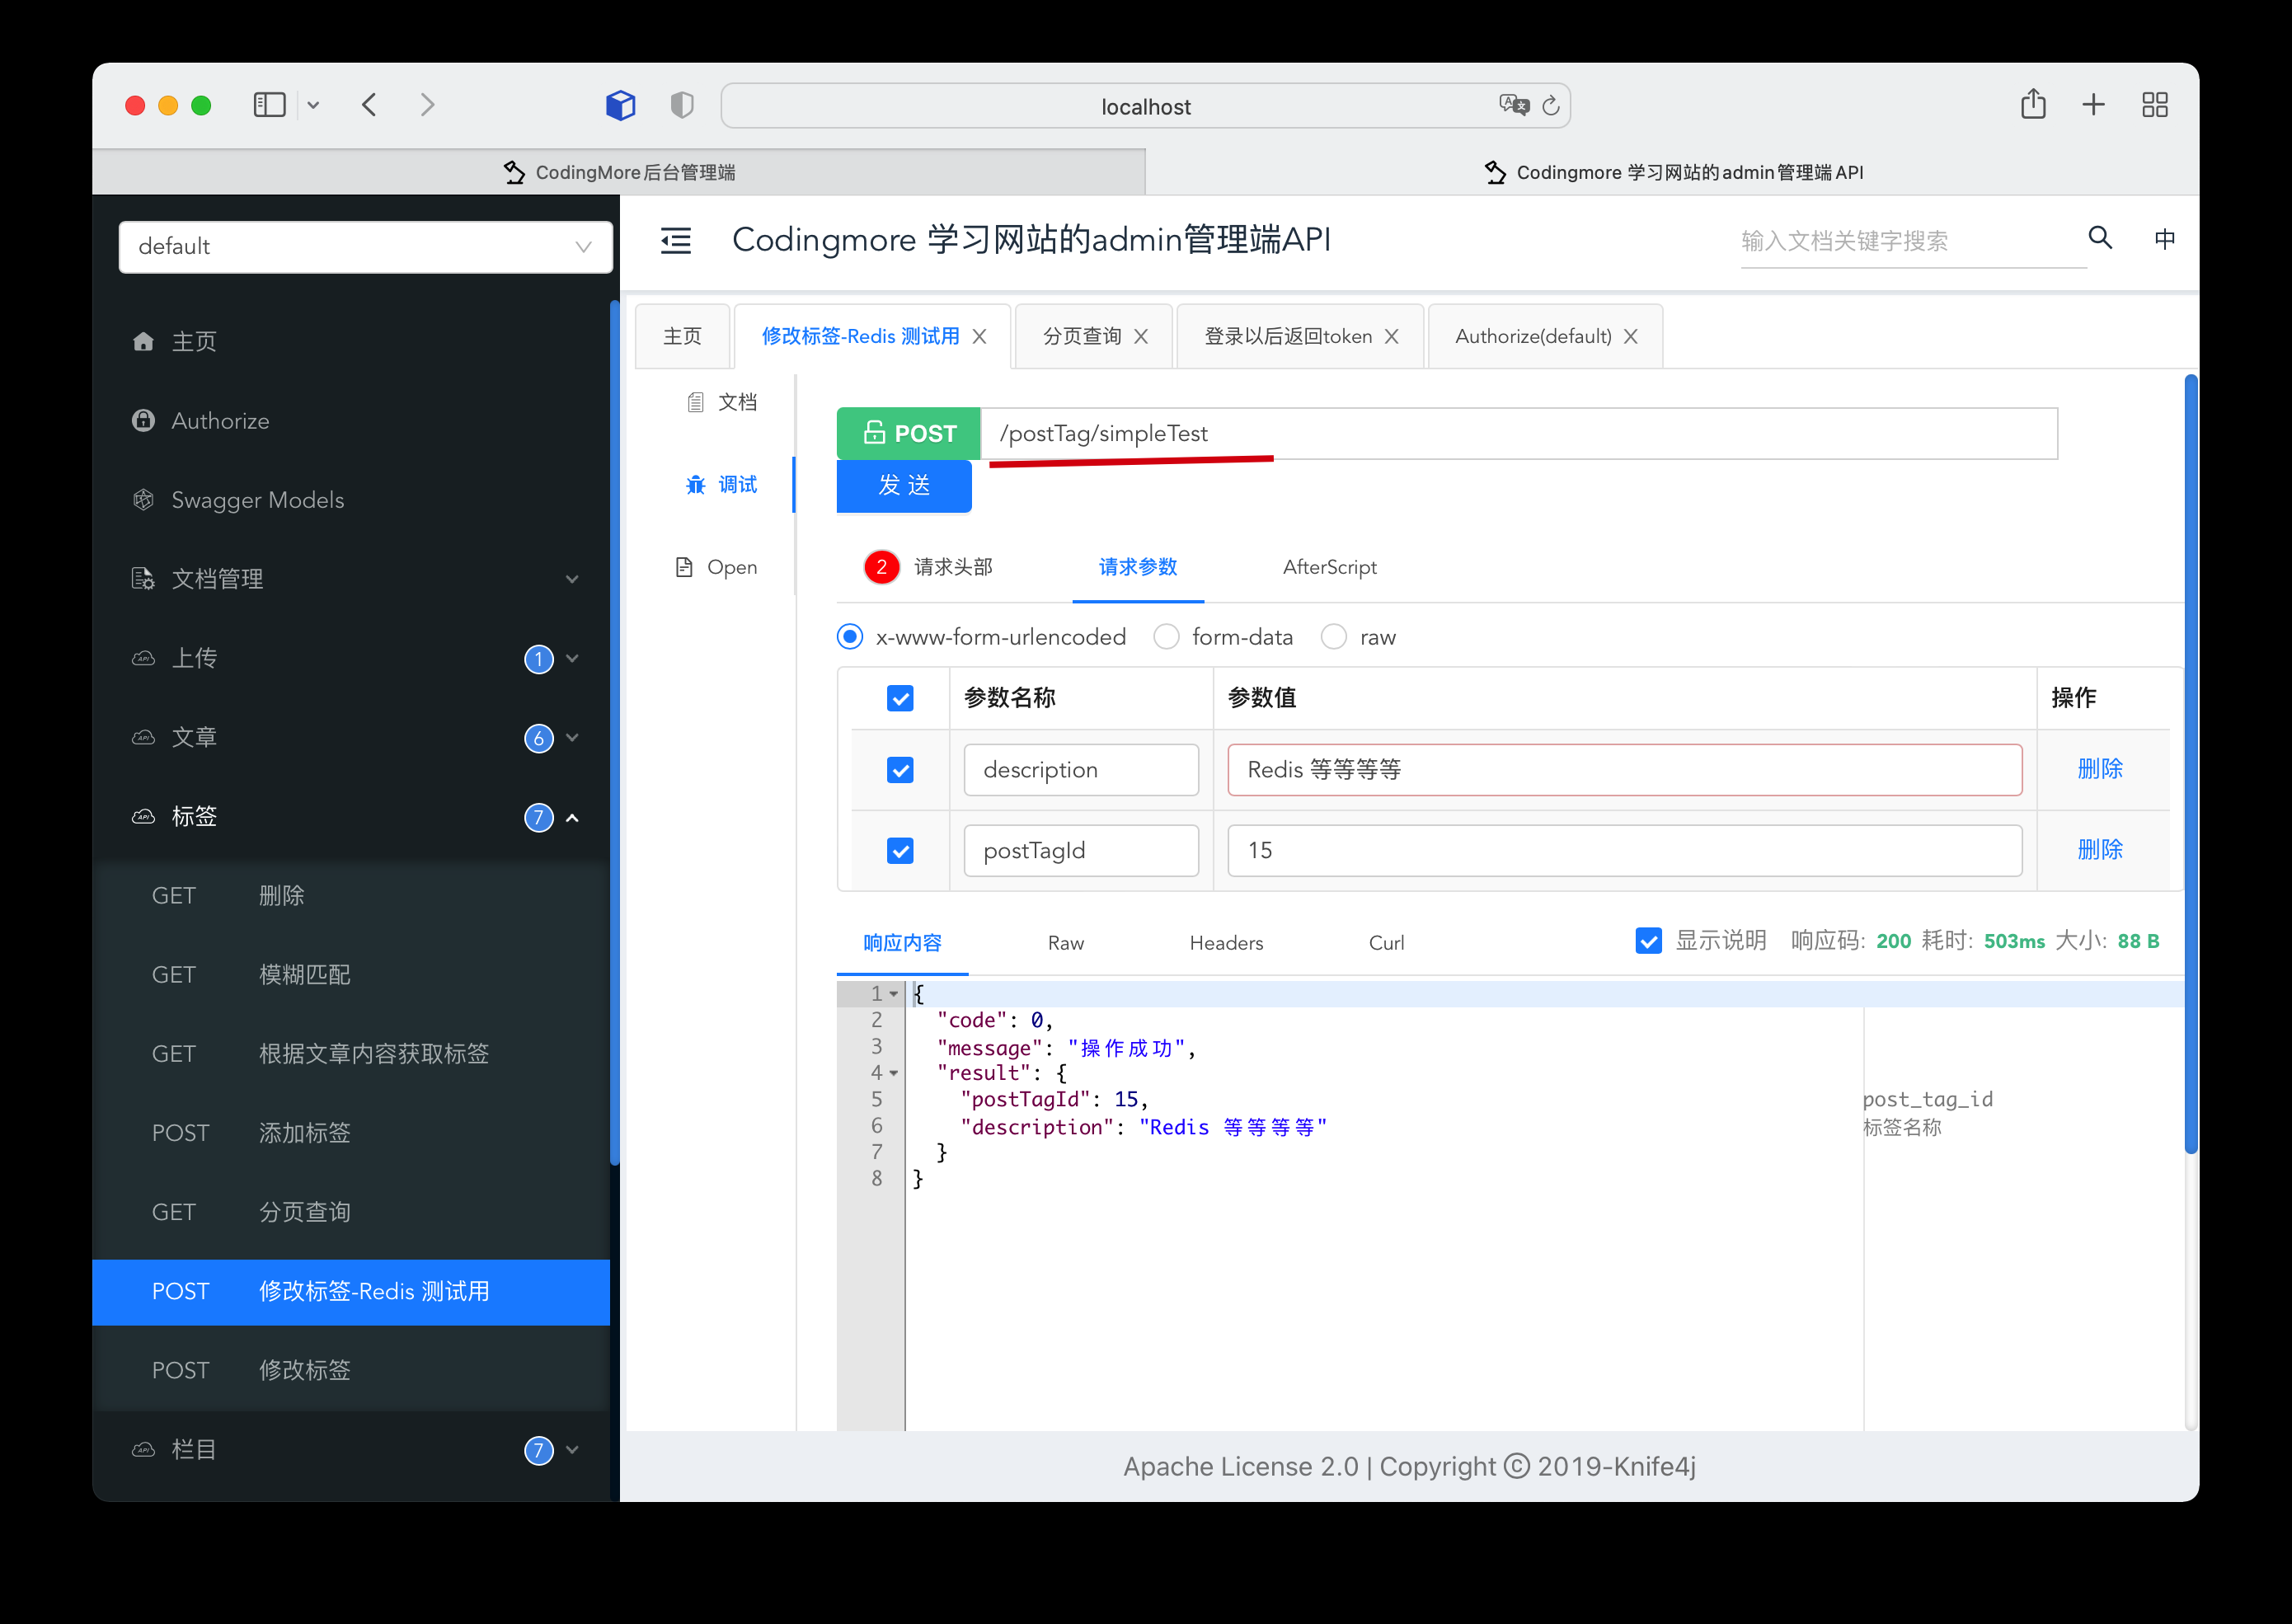
然后通过 Red 查看该缓存,OK,确认我们的代码是可以完美执行的。